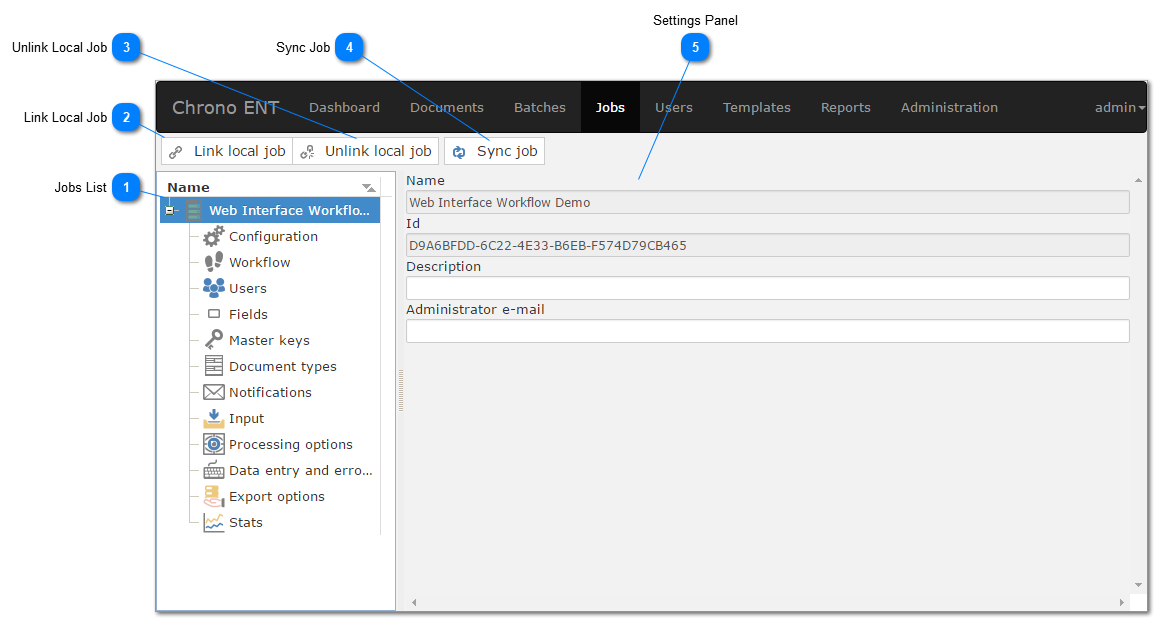
In the Jobs tab the user will be able to manage, link and synch all Jobs.
In order to create Jobs the desktop interface should be used.
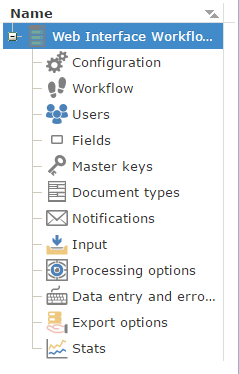
All the settings for Jobs can be found documented
here.
 Jobs ListAll linked Jobs will show up on this panel along with the specific configurations and settings.
|
|
 Link Local JobUse this button to link a Job from the desktop interface so it can be used on the Web Interface.
Linking the desired jobs is the first step when you start setting up ChronoScan Enterprise.
|
|
 Unlink Local JobUse the unlink local job button to remove any desired job from the jobs list.
Once unlinked the job will not be available anymore for all users.
|
|
 Sync JobThe Sync Job button will sync any changes to the document types linked to the job.
This option is only used from the Web Interface to the Desktop Interface.
Use this button if a newly created document type is not working correctly on the desktop interface.
|
|
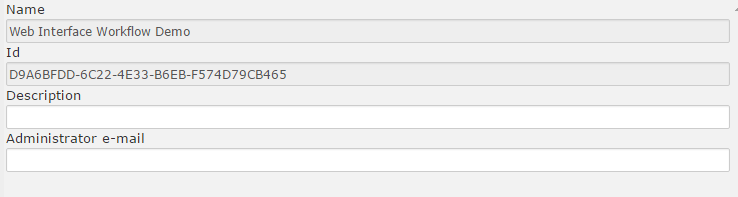
 Settings PanelThe options for the selected settings will be displayed here. All the different settings are documented here.
|
|