3.2.16. Bookmarking pages
Since v1.0.3.70
Starting from this version, it is possible to create page bookmarks in ChronoScan. The process is explained below:
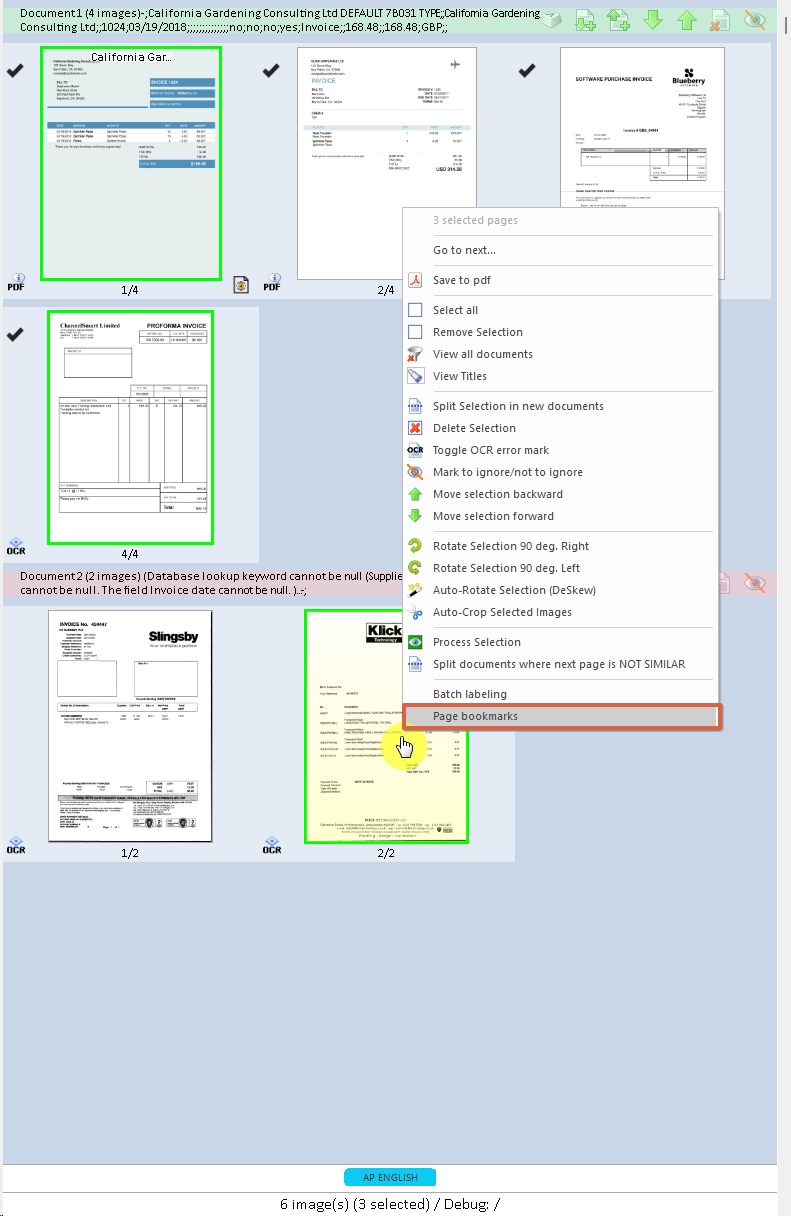
1. Open any batch in ChronoScan
You can add or remove page bookmarks by clicking on the thumbnail viewer, either in "Scan/Input" mode or "Data Entry" mode.
2. Click on the desired page or pages (right-click for multi-selection) and open the actions menu for the thumbnails. If you have only selected one page, right-click on it again; for multi-selection, the menu will appear automatically.
3. Click on the "Page Bookmarks" action. The Bookmarks Manager dialog will appear.
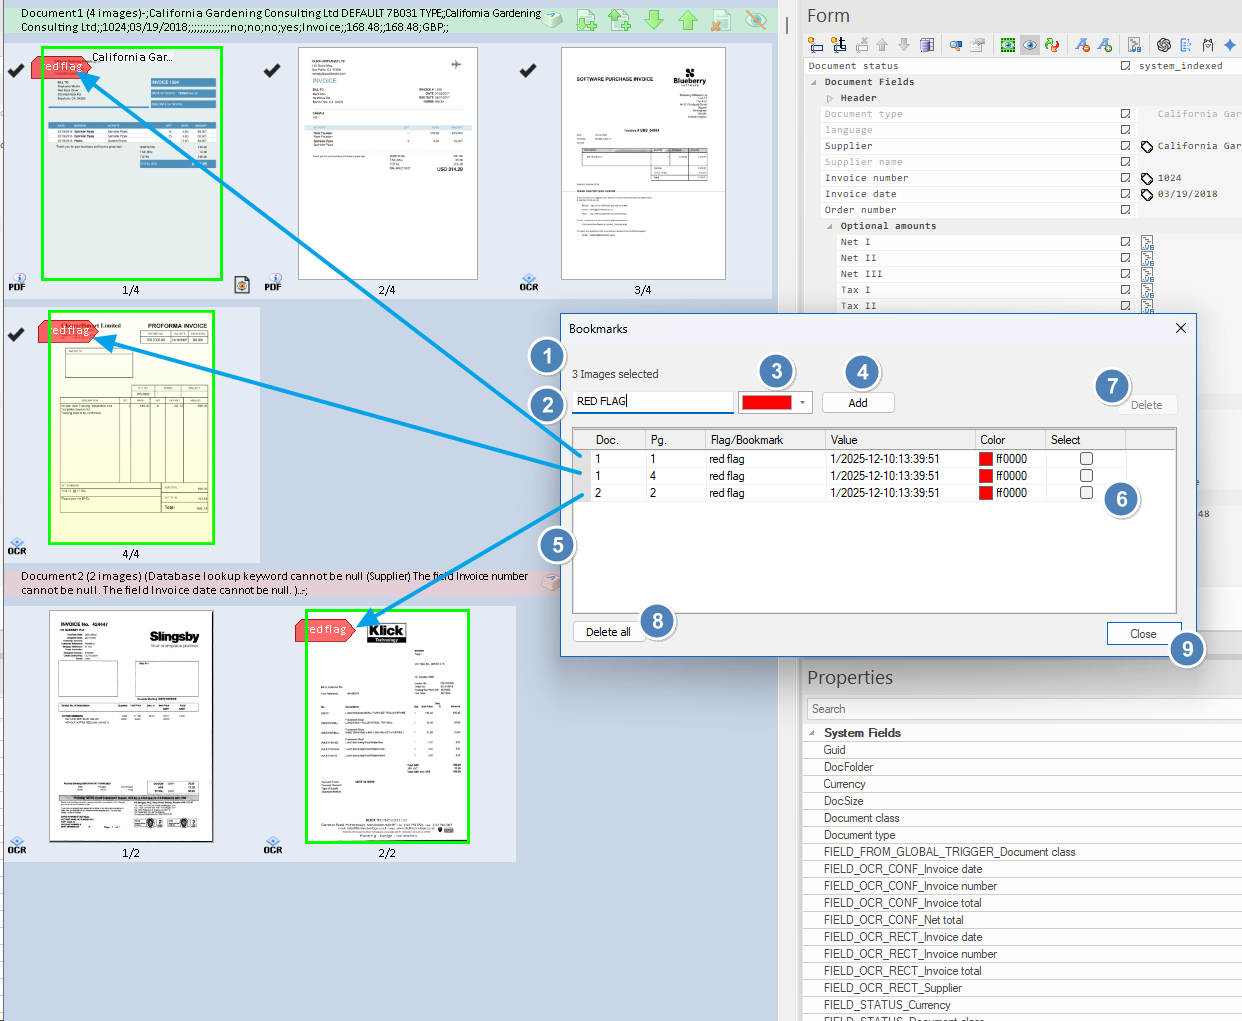
Bookmarks Manager Dialog — Element Reference
1. Images selected: Indicates the number of pages/images currently selected in the thumbnail viewer. Bookmarks added or removed will affect these images.
2. Bookmark name: Text field for entering the name (label) of the bookmark to be added to the selected pages.
3. Color picker: Selects the color for the new bookmark. This color will visually identify the bookmark on the page thumbnails.
4. Add button: Adds the bookmark (with the specified name and color) to all currently selected images/pages.
5. Bookmarks grid: Displays a list of all bookmarks found on the selected images. For each bookmark, the grid shows:
-
-
-
Bookmark name (Flag/Bookmark)
-
Timestamp or value (Value)
-
Color associated with the bookmark (Color)
-
Select: Checkbox to select bookmarks for deletion
6. Select: Check the box(es) to select one or more bookmarks for removal. Use the Delete button (7) to remove the selected bookmarks from the corresponding pages.
7. Delete button: Removes all bookmarks currently selected in the grid's "Select" column from the affected pages.
8. Delete all button: Removes all bookmarks from all the selected images/pages, regardless of selection in the grid.
9. Close button: Closes the Bookmarks Manager dialog.
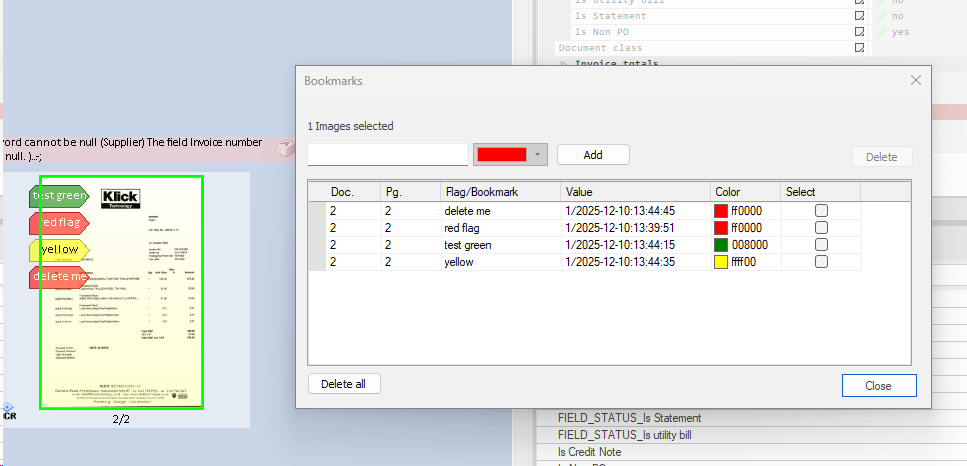
You can add multiple bookmarks to the pages: