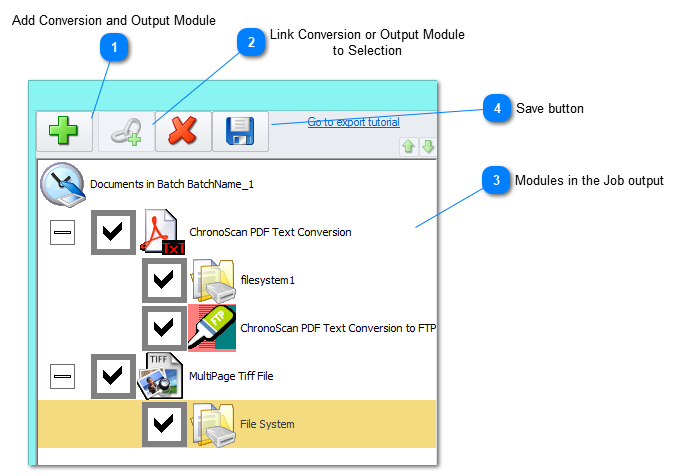
When you finish scanning and/or processing your Batch, you will want to export the extracted data. This is done through the Export Batch button on the Scan/Input Tab or in the small CD icon () on the Batches Panel:
When you click on the Export Batch button you will see the Execute Output Window. In this window you can configure ChronoScan to produce the desired output.
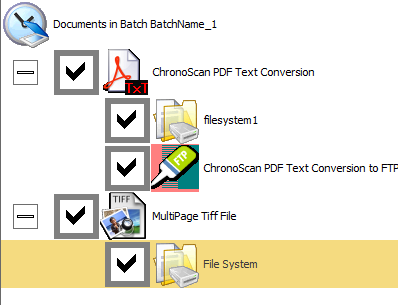
You can link any number of modules to get your results. For example, you can create a configuration that converts to TIFF and to PDF while sending TIFF files to Alfresco and PDF files to Google Drive and to the File System.
Add Conversion and Output Module
This option will show a wizard that allows you to select a conversion format plus an output module and add both to the current configuration.