×
Menu
Index

3.5.3. Scan/Input Tab

3.5.3. Scan/Input Tab
 
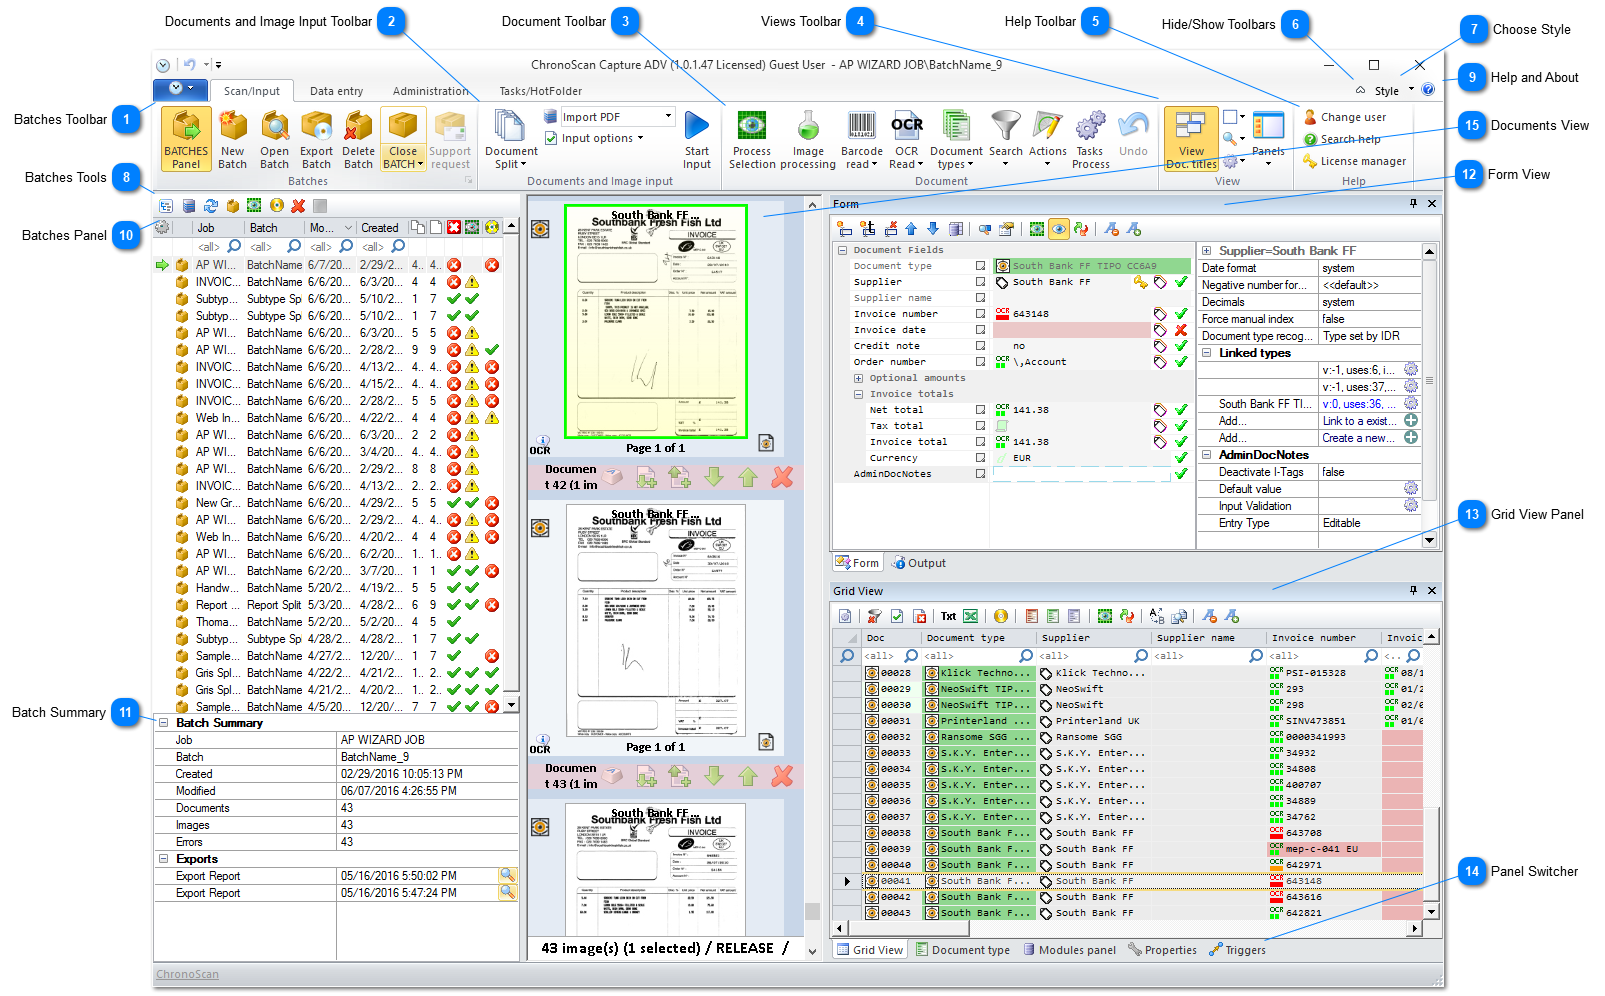
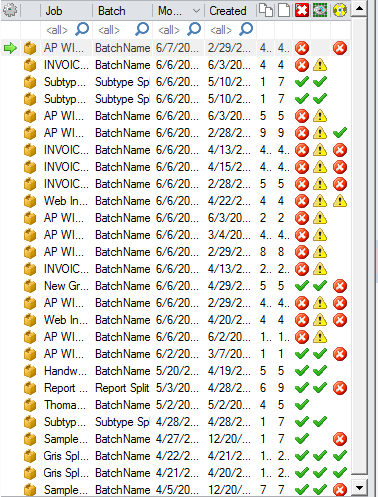
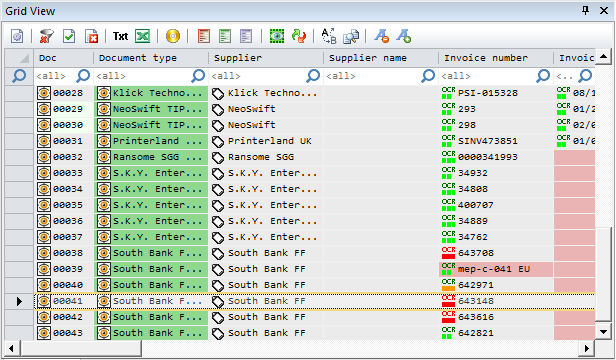
The Scan/Input tab offers an overview of all the documents, batches and jobs available to start extracting data. It's main function is to import and scan documents into ChronoScan.
You can also split documents, set advanced settings, process batches, remove or import new documents and look at the data extracted from the documents after setting up the Job into the Data Entry tab.
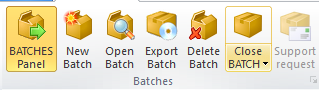
 
1

Batches Toolbar

1. Batches Toolbar
The batches toolbar offer batches tools.
You can create new batches, export a finished batch, close and/or reopen the selected batches and hide/show the BATCHES Panel.
 
2

Documents and Image Input Toolbar

2. Documents and Image Input Toolbar
It allows for configuring import options and splitting options at import time.
 
3

Document Toolbar

3. Document Toolbar
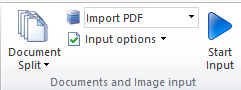
On this toolbar it is possible to manage document types, search certain documents, configure OCR read and Barcode reading and to actually process the documents currently in the batch after setting up all the desired options for the Job.
 
4

Views Toolbar

4. Views Toolbar
This toolbar offers tools to manage the Documents View panel.
You can select different cursor tools such as split and rotate and others.
You can also toggle the Undo feature here and show/hide auxiliary panels like the Forms and the Modules Panel.
 
5

Help Toolbar

5. Help Toolbar
This toolbar offers help tools. It is documented here.
 
6

Hide/Show Toolbars

6. Hide/Show Toolbars
The Hide/Show Toolbars button hide/show the toolbars panel.
 
7

Choose Style

7. Choose Style
ChronoScan offers a few different styles. Pick one that suits your desktop or eyes the best.
 
8

Batches Tools

8. Batches Tools
Use the Batches tools to process, reset and remove Batches without having to open them.
Using the Batches tools it is also possible to see Batches on the server when using Enterprise.
 
9

Help and About

9. Help and About
The Help and About button open up the About Window.
There it is possible to install sample Jobs to get started with ChronoScan, check for updates, open the License Manager and there are also links to the main webpage, to the support forum and to the video tutorials youtube page.
 
10

Batches Panel

10. Batches Panel
The Batches Panel shows information about existing Batches and their related Jobs.
On this panel it is possible to manage and process Batches as well as export them.
 
11

Batch Summary

11. Batch Summary
This summary panel shows information about the currently selected Batch from the Batches Panel.
 
12

Form View

12. Form View
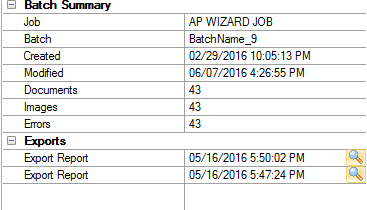
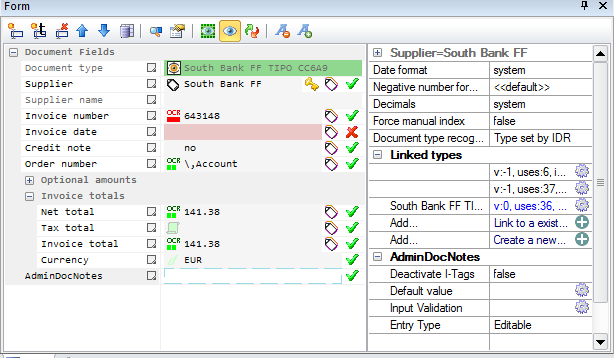
The Form View is divided in two parts, the left part shows information about the created OCR Zones for data capture, displaying the captured information and errors.
On the right side the user will be able to see masterkey information such as linked document types and admin notes.
The right part of the Form View will be disabled for non-masterkey setups. More on ChonoScan's panels and views here.
It is also possible to turn on customizable buttons on the form views, more on customizable buttons here.
 
13

Grid View Panel

13. Grid View Panel
The Grid View shows information about the captured data from OCR Zones on all documents including errors.
This View offers a quick overview of all the information captured. More on ChronoScan's Panels and Views here.
 
14

Panel Switcher

14. Panel Switcher
Some Views and Panels can be organized in tabs like this one.
By default only some panels and views are visible and others are organized in tabs like this.
 
15

Documents View

15. Documents View
The Documents View displays all the imported documents and can be used to sort and manage them using the tools offered by each toolbar.
If a document have a data capture error it is displayed in red.