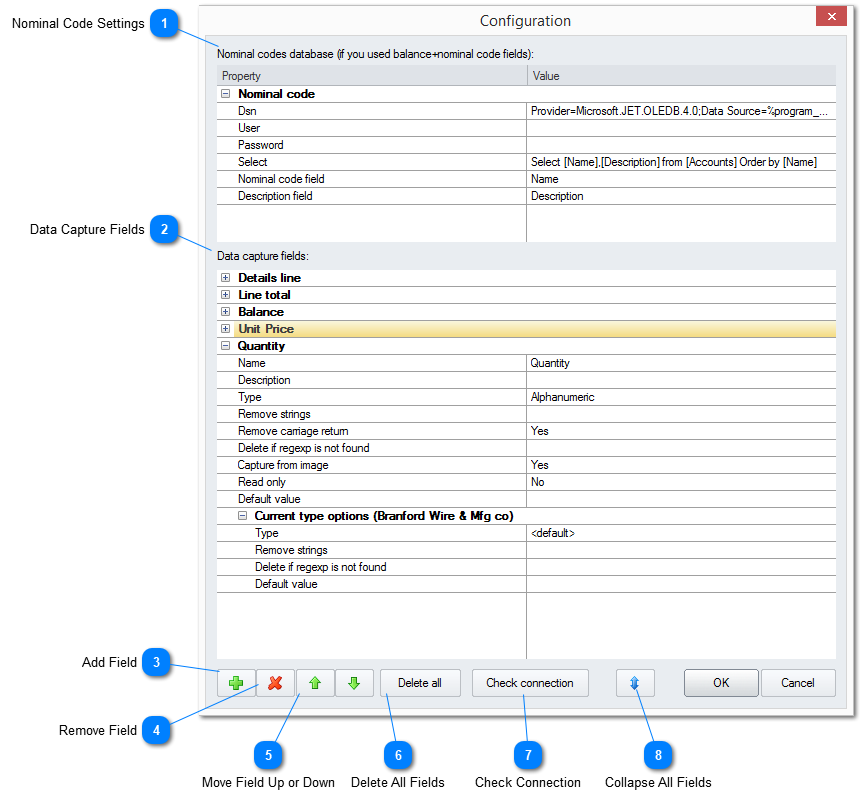
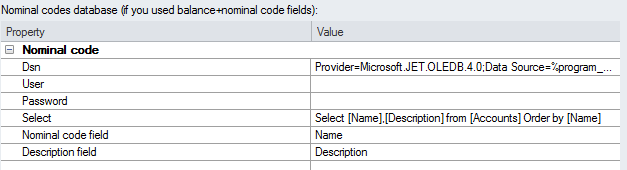
This window shows up by clicking in the Options button on the Modules Panel. On this window it is possible to customize the grid to capture all the data desired from the documents. It is possible to create and delete fields, sort them, edit each field's properties and setup a nominal code and connection to a database. After setting all the needed settings the grid should be created on the document, like it is shown here.
To create advanced grid capture setups create a custom data field for your grid and select the desired function from all the functions available.
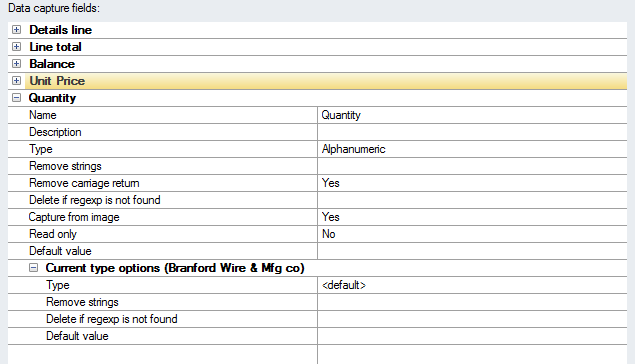
Fields can have several different types, and that will change some options available for them. More on Field Types and Field Configuration can be found here:
All the information about the created Data Capture Fields is displayed and can be customized here. From field name and type to the default value. The Remove Carriage Return option removes the different lines of the read text and make it a single line text.