Here we will learn all the steps needed to create a Job using the Job Wizard. More on the Job Wizard here.
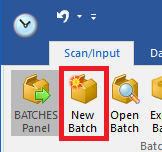
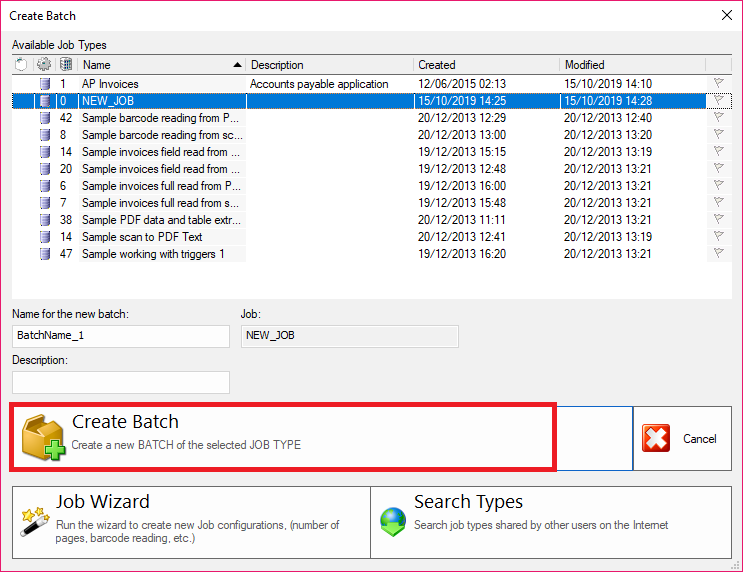
1 - The first thing you need to start scanning or importing images is to create a batch of a determined Job type. If you don't have any Job type defined use the Job Wizard to create a new one. Let's see how step by step:
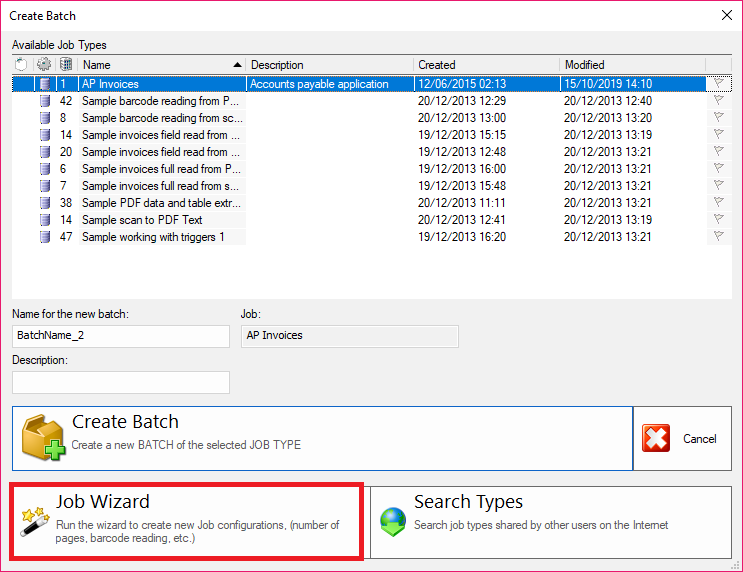
2 - On the New Batch Window use the Job Wizard to create a new Job Type:
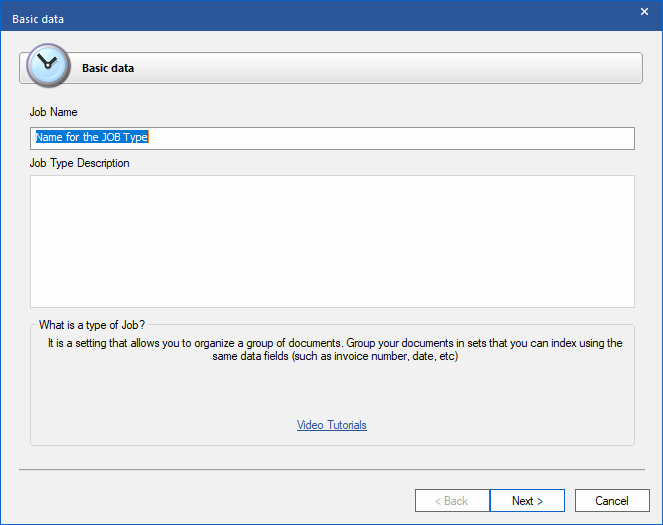
3 - Insert a Job name that describes the type of job you want to do:
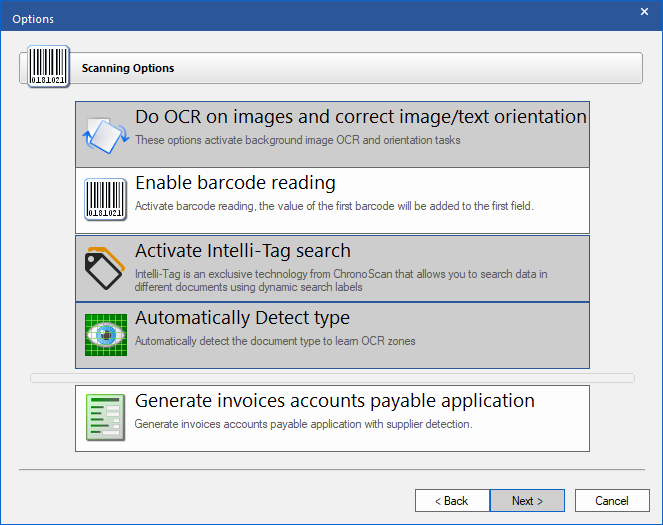
4 - Select the main options for the Job. If you want to read barcodes from your documents, activate Barcode Reading. To define OCR zones, activate the Automatically Detect Type option:
5 - To select basic options for document split, ChronoScan needs to know where the documents end. The basic options are:
Single Image Documents: if your documents have only one page click on this button. Every image added to ChronoScan will be a new Document.
Multi-Image Documents: if your documents have more than one page select this option:
Split Manually: all the pages scanned are inserted into a single document. Then you will have to split the documents on the ChronoScan viewer. More on manual split here;
Split every n pages: if all of your documents have the same number of pages select this option and you will be prompted for that number when you click Next;
Split when a PATCHCODE is Found: every time ChronoScan reads a PatchCode it creates a new document. Use this if you scanned your documents using PatchCode pages between each new document. More on PatchCode splitting here.
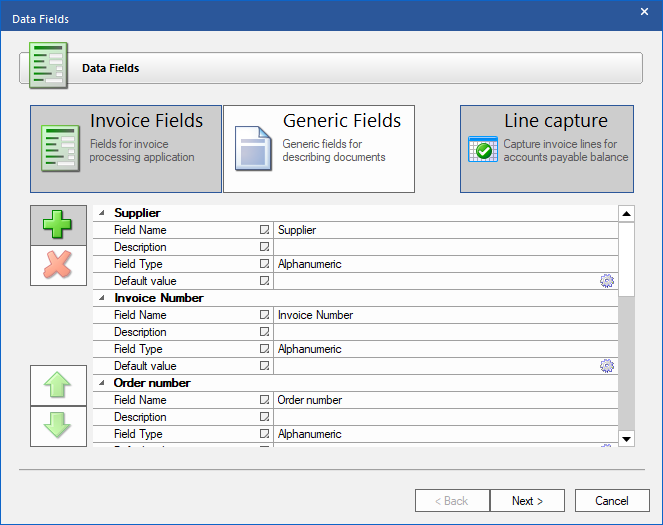
6 - Define the fields for your Job - you can use the default fields or insert your own - these fields allow you to associate data to every one of your documents and use it to be exported, name the files, set metadata/bookmarks on PDF files and much more. This configuration can be changed after the Job has been created:
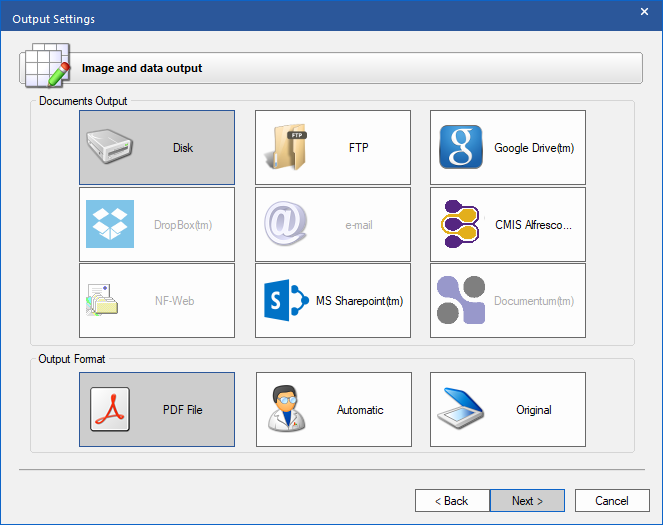
7 - Lastly, define which kind of file format and file destination you want for your documents, only the basic options will present here, more options can be setup later:
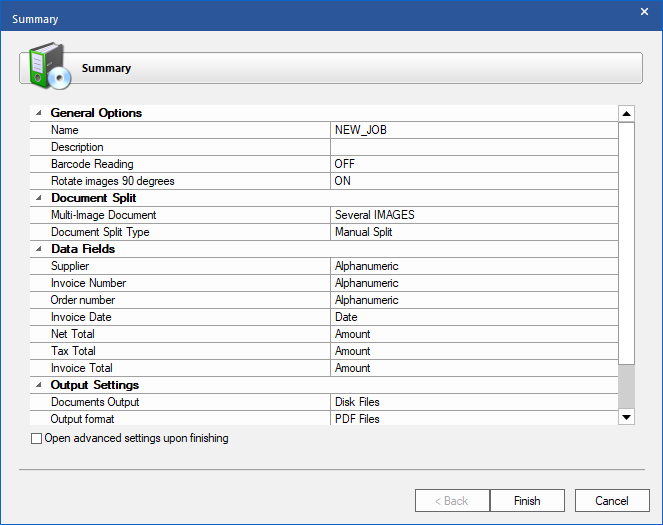
8 - On this window you can see all the settings and make sure everything is correct:
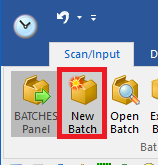
9 - Now that we have a Job Type setup we can start scanning and processing images. When you click Finish, you can click on the Create Batch button to create a new Batch using the created Job. Click on it to create a new Batch with the desired name and description. You can use as many Batches as you want with the same Job configuration: