Here we will learn how to use a TWAIN compatible scanner to import our documents into ChronoScan.
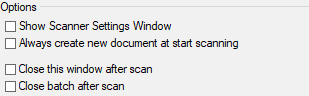
To start importing files using a scanner you need to first select the TWAIN Scanner option on the Documents and Image Input Toolbar on the Scan/Input Tab. Then you have to click on the Input Start button to open up the TWAIN Scan window where you will be able to tweak settings for your scanner. More on the TWAIN Scan window can be found here. You will also find a few other Input Options that can be found here. The whole TWAIN Scan Input Module is documented here.
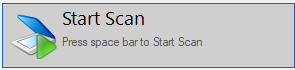
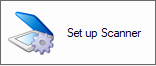
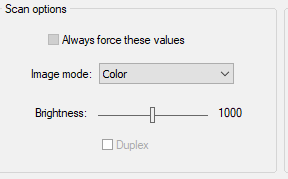
First click on the Select Source button to select the desired scanner, then click on the Set Up Scanner button to set it up according to the desired options. Note that this set up process is specific to your scanner.
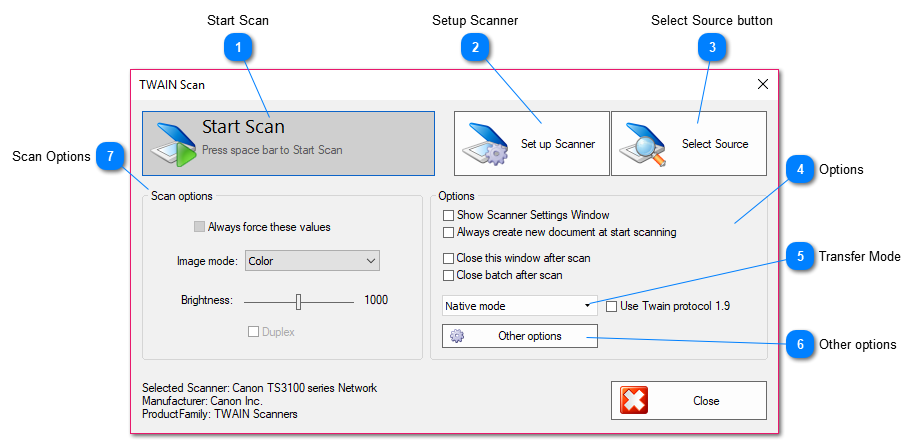
When you click on the Start Scan button your documents will start being scanned and imported into ChronoScan.
Start Scan
The Start Scan button starts the scan on the selected scanner.