×
Menu
Index

3.5.3.2.1.1. Barcode Document Split Configuration Window

3.5.3.2.1.1. Barcode Document Split Configuration Window
 
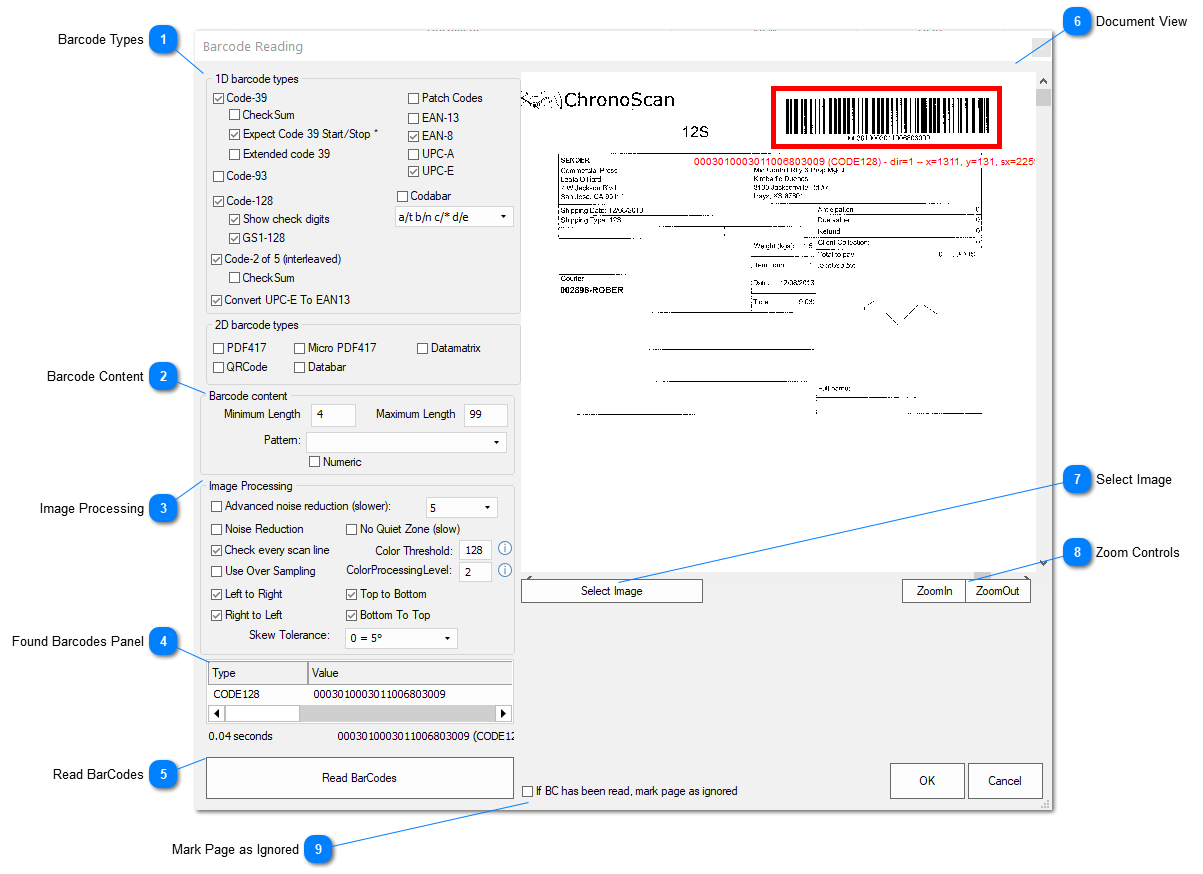
This window is very similar to the Barcode Reading Settings window. The only panel missing is the trigger panel. This window allows you to configure barcode splitting at input time. The default behavior is similar to PatchCode splitting where the pages that contain the desired barcodes are deleted. This kind of splitting have several uses but it is not very flexible.
The recommended technique for splitting documents using barcode is by using barcode triggers. A video tutorial on barcode triggering can be found here.
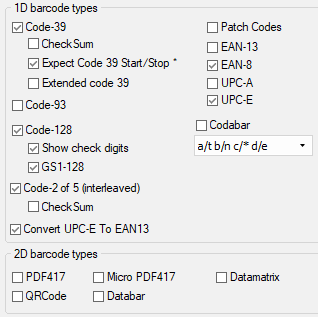
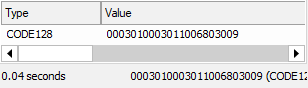
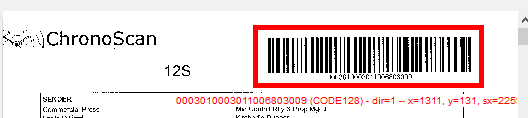
 
1

Barcode Types

1. Barcode Types
On this area you should select all the barcodes that are present on your documents, otherwise ChronoScan will recognize them but not read them.
The more barcode types you have selected the longer each document will take to scan.
 
2

Barcode Content

2. Barcode Content
On the Barcode Content section it is possible to set filters to read only the desired values/patterns.
Values that do not match the criteria will not be read.
 
3

Image Processing

3. Image Processing
If ChronoScan is having trouble reading the barcodes it is possible to enable some of the Image Processing features to improve readability.
Adding more options will increase processing time.
 
4

Found Barcodes Panel

4. Found Barcodes Panel
After clicking the Read Barcodes button this window will show information about the barcodes read with the current configuration.
The timer will also report how long the scan took.
 
5

Read BarCodes

5. Read BarCodes
The Read barcodes button will read the selected image using the current configuration.
All the barcodes found will be highlighted on the Document View panel and the time taken will show up under the Found Barcodes panel.
 
6

Document View

6. Document View
This panel will show up the results for the currently selected document and reading configurations.
After making changes be sure to click on the Read Barcodes button again to make sure the new settings return the desired results.
 
7

Select Image

7. Select Image
The Select image button will open up the Select Image Window that will allow to select one of the documents already in the current batch to be read.
 
8

Zoom Controls

8. Zoom Controls
The Zoom buttons allow you to zoom in and out on the Document View panel.
 
9

Mark Page as Ignored

9. Mark Page as Ignored
It is possible to also set the barcode page as ignored so it doesn't go out during export.