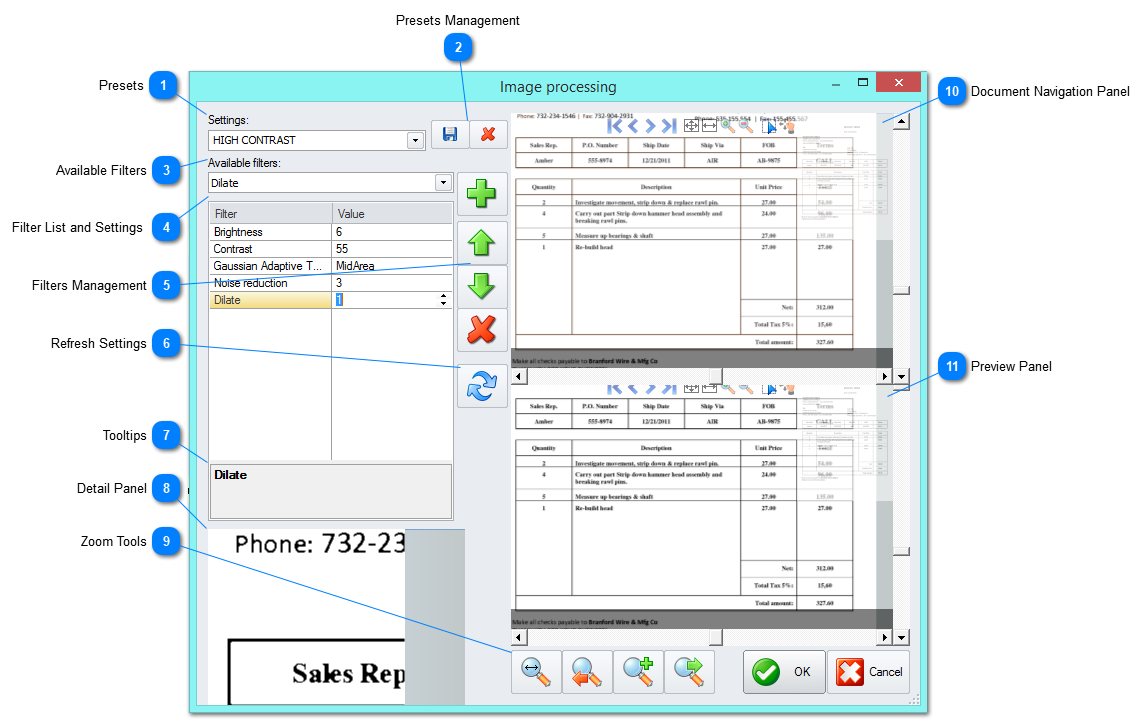
This window gives access to advanced Image Processing options to improve OCR reading results when there is a problem with your documents. You can stack filters and preview the final result. You can keep tweaking until the desired result is achieved. Click OK after all the desired settings are done to close the window and apply the settings to your batch.
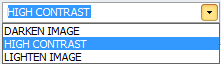
This menu stores presets, there are three presets already built-in but it is possible to save new ones and edit or remove old ones using the Presets Management buttons and the Filters Management buttons.
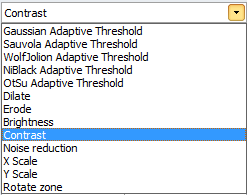
This menu will give access to all available image processing filters. Select the filter you want from the menu and click on the Add filter button from the Filter Management buttons.
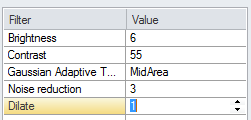
This panel will show all the filters currently used and will show settings for each of them. All settings are customizable and you can check the results using the Detail and Preview panels.
Select a filter from the Available Filters list and click on the Add button to add it to the Filter List. Select a filter from the Filter List and use the up and down arrows to move it up or down on the list or the Remove button to remove the filter from the list.
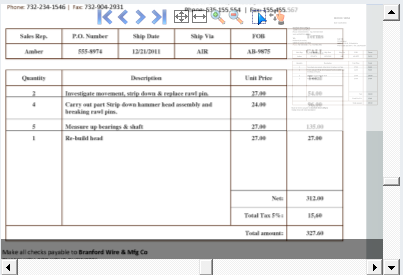
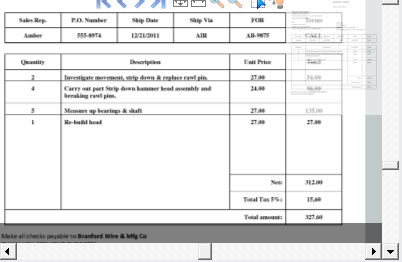
The zoom tools help navigation of the document. Use it to zoom in and out of the document and to the right or left of the document with a single click.
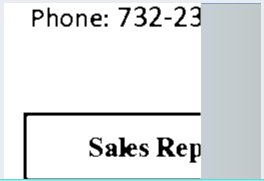
This panel shows the processed document. This view mirrors the Document Navigation panel view. The document navigation tools are available on the top of the panel